

Art & Story
Sharing tips, inspiration, and lessons from an artists’ journey.

DIY Christmas Ornaments with Cornstarch and Baking Soda
It's been such a long time since I made a craft just for fun. Usually, I talk myself out of doing this kind of thing, but to celebrate the holiday season and get in a festive mood, I decided to get out of my own way and make some cute Christmas ornaments. Oh, and what a joy it was!
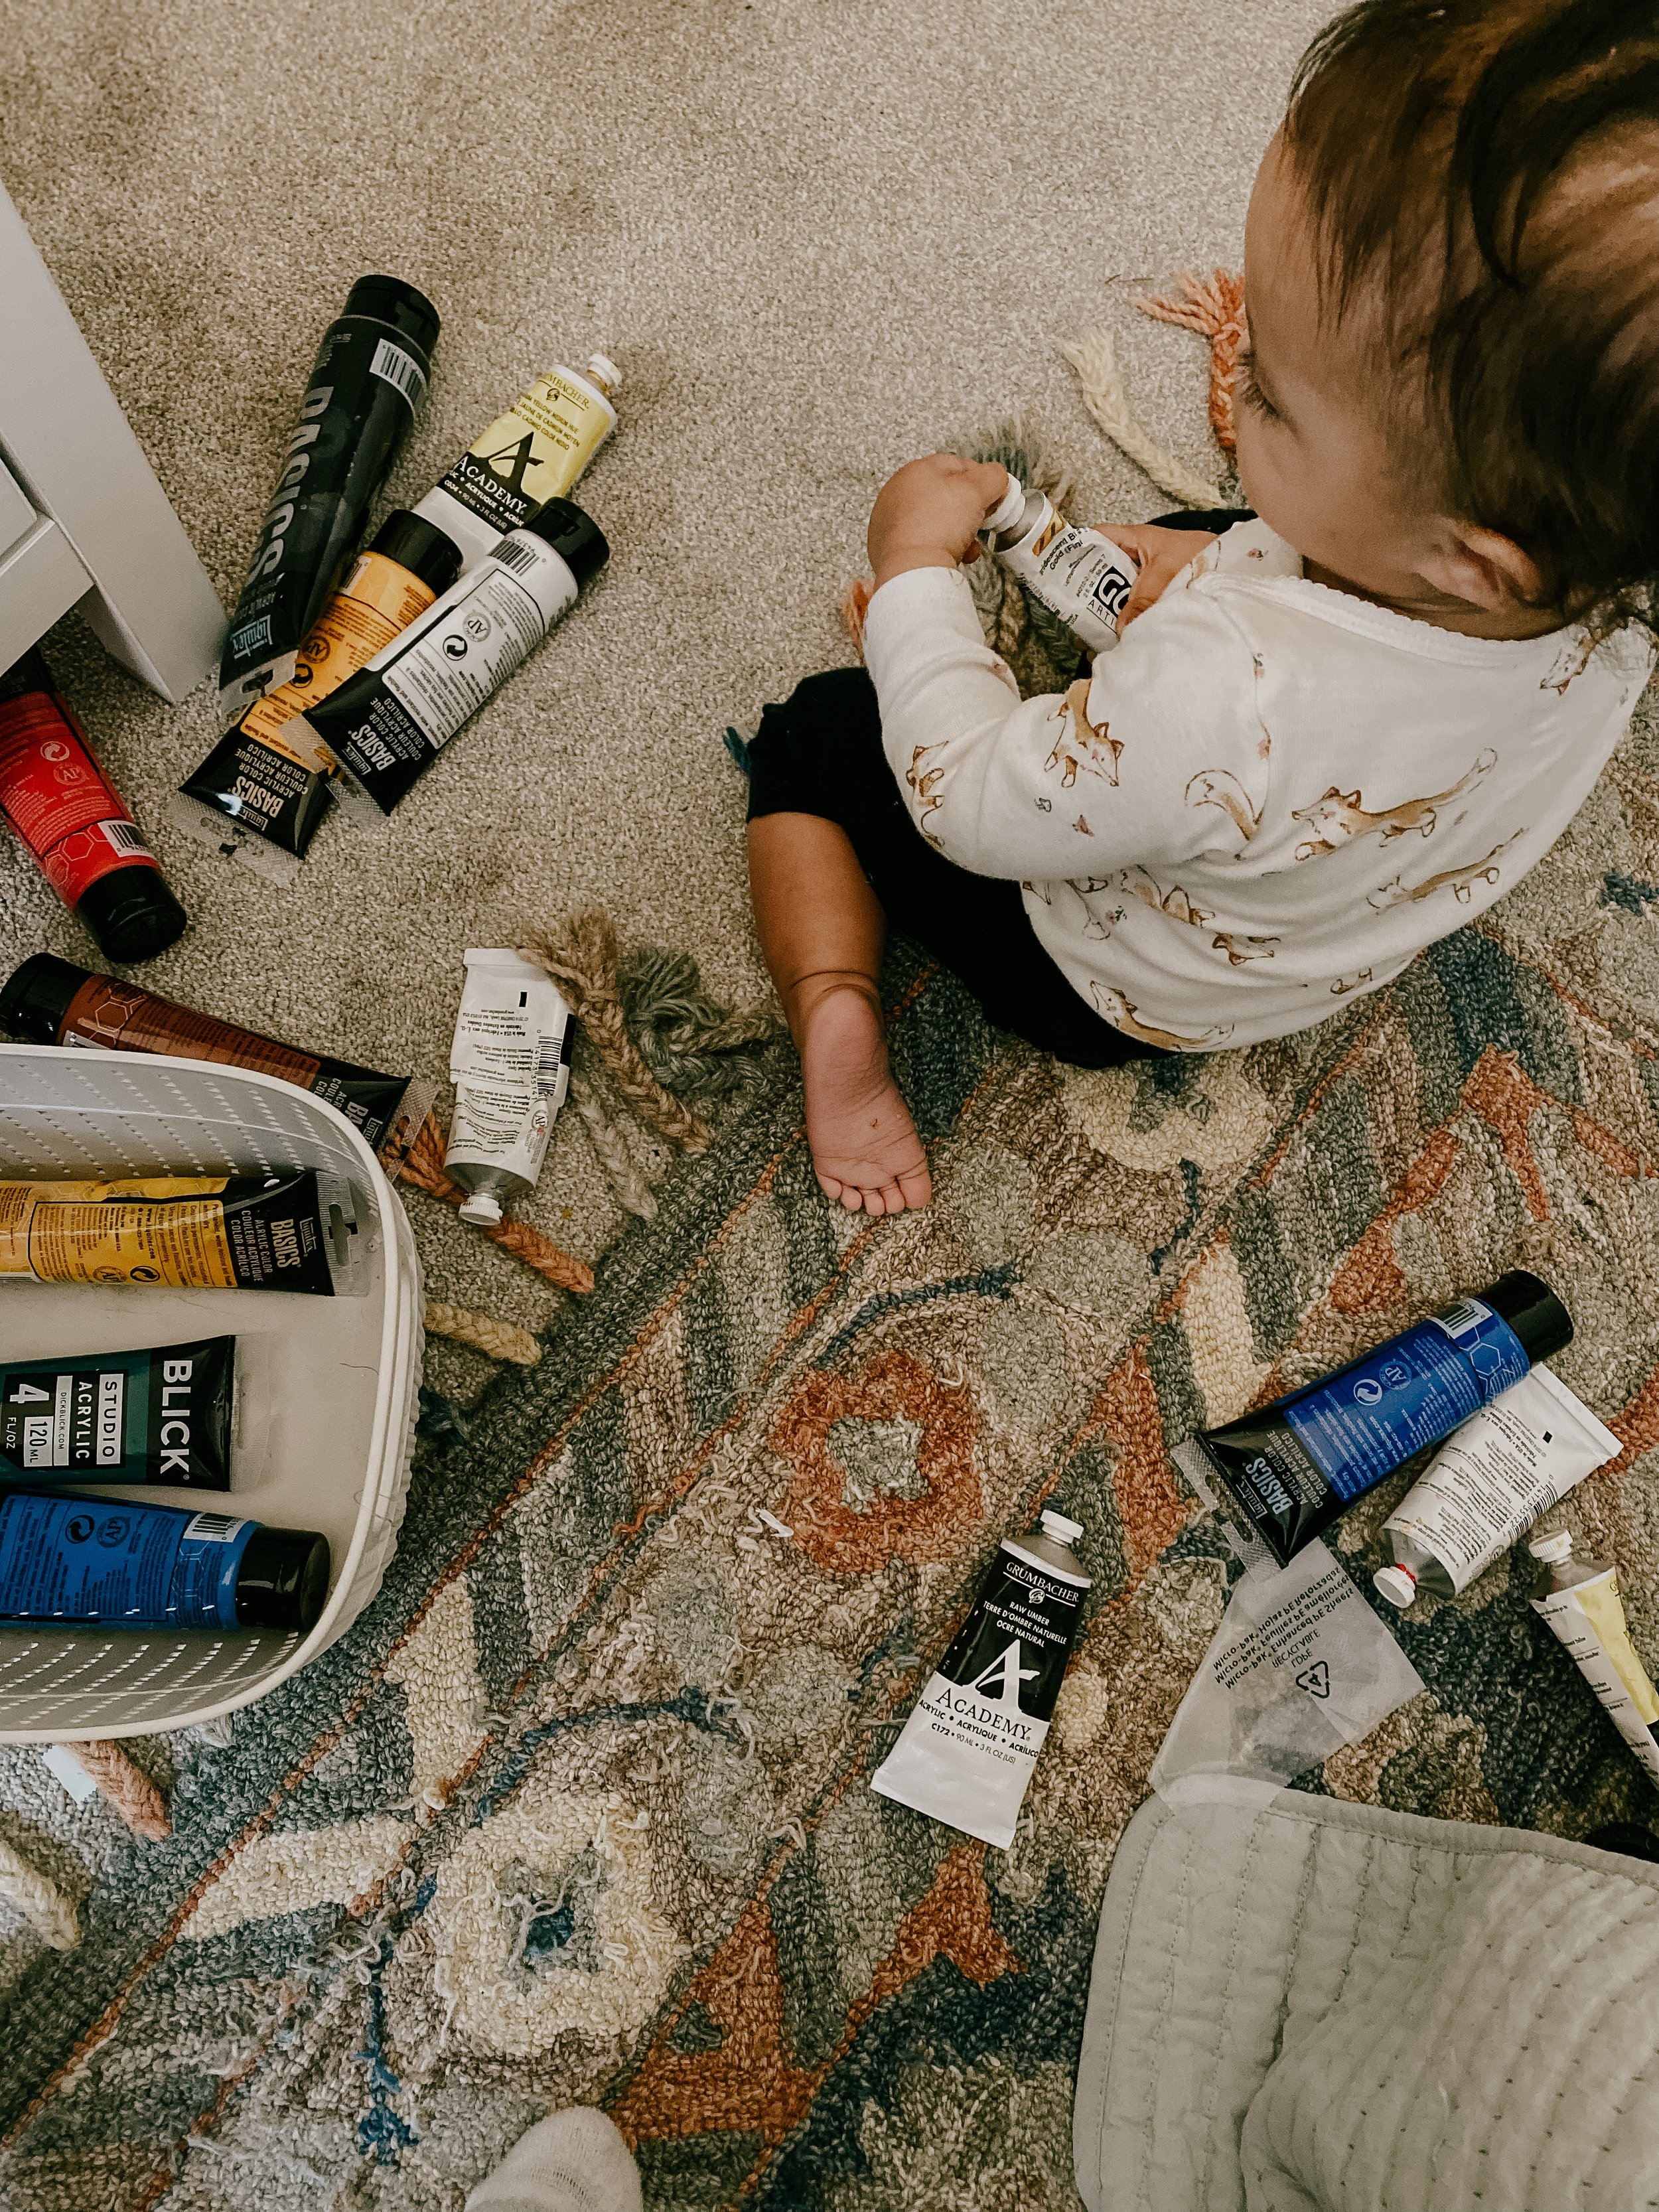
It’s such a simple and fun craft that you can easily do with your little one, too.


Handle with care when painting and inserting string or you may risk breaking them. :(
All it takes to make these ornaments are cornstarch, baking soda, water, and that’s it! Bake them for a half an hour, paint, and then go crazy decorating them. Again, super easy.
There were some minor hiccups I had while painting but so long as you follow the directions, your ornaments should be alright. For example, make sure you roll the dough to a quarter-inch thickness and not any thicker. This helps your ornaments to harden completely when they bake. I, unfortunately, made the error of not rolling them out thin enough, and I had to throw half of them out because their centers never hardened. Luckily the recipe makes about 20+ ornaments, so I still had plenty to work with.

If you are feeling crafty, here’s how to make the cornstarch dough ornaments for you and your little ones:
Cornstarch Dough Ornaments
Materials
For Decorating:
Acrylic Paints
String ribbon and/or twine (for hanging)
Gloss Varnish
Scissors
Glitter (optional)
For Dough:
½ cup cornstarch
1 cup baking soda
¾ cup warm water
Rolling pin
Parchment paper
Cookie cutters
Directions
Preheat oven to 250F degrees.
In a medium sized saucepan over medium heat, combine cornstarch, baking soda, and warm water. Stir the ingredients for a couple of minutes until dough starts to form.
When the dough has thickened enough, remove from stove and place it into a medium sized bowl. While the dough cools, cover it with a wet paper towel to prevent the dough from drying out.
Once cool, sprinkle your countertop or work area with cornstarch to help prevent the dough sticking to surface area. Using a rolling pin, roll dough until it has a thickness of ¼ inch, then use your cookie cutters to cut-out your ornament shapes.
Using a straw or another poking device (I used a baking thermometer), poke a hole at the top of your ornament. This will be where you add string to hang after you have decorated them.
Gently place your cut-out ornaments on parchment paper and place them on a baking sheet. Bake for 30 minutes.
After baking, remove them from oven and place them on a flat surface to cool.
Once cooled, you can begin to paint and decorate them as you like saving the string to hang for last.
(Optional) for a glossy finish and to preserve your ornaments, spray with a high gloss varnish before inserting the string for hanging.
Overall, these ornaments were a joy to make. Not only did the experience calm my busy mind but also helped me get into the holiday spirit. In fact, I enjoyed it so much that I almost made another batch! But I’ll save my enthusiasm for next time. Making Christmas ornaments may just be a new holiday tradition I’ll do to celebrate Christmas every year.
Remember to Play

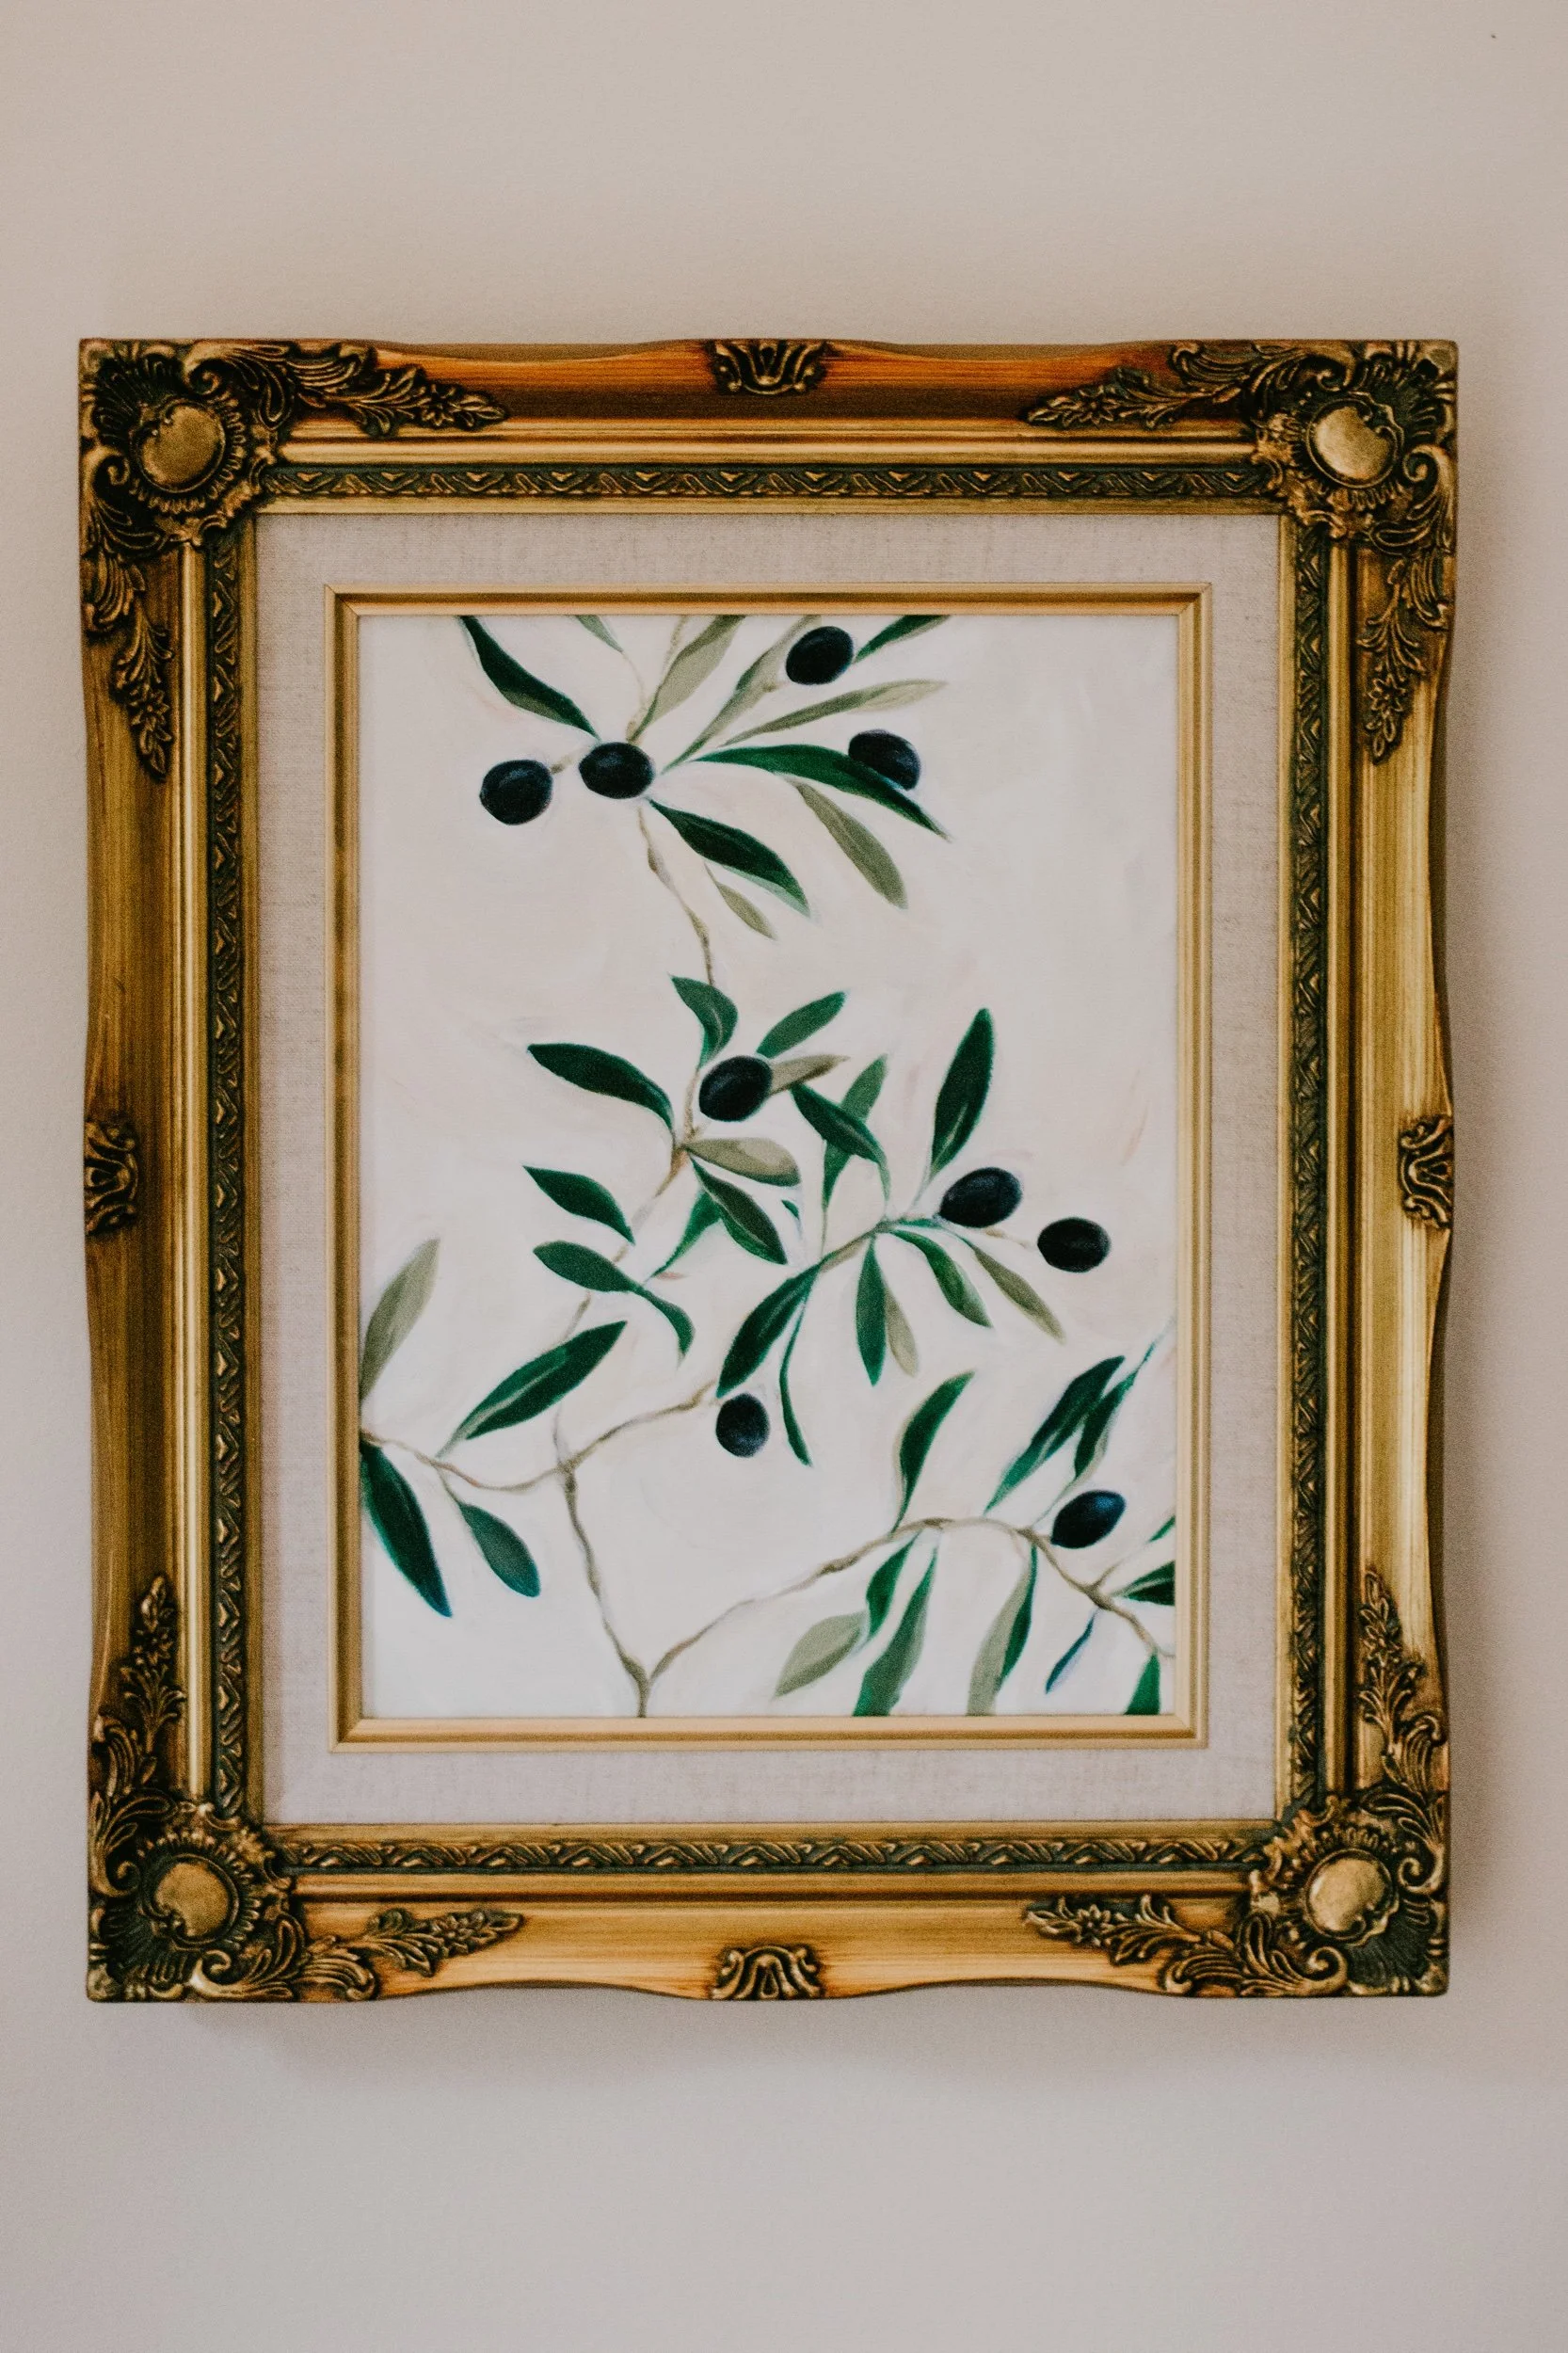
Although I’ve been making art for other people most of my life, it may surprise you to know that I never make art for myself. For too long I’ve held the beliefs that making art for oneself and shamelessly displaying it in one’s home was pretentious, self-indulgent, and a waste of time; in other words, I shouldn’t use my own skills for my own enjoyment. So when I decided to pick up my paintbrush and paint again just for fun, little did I know that I would dismantle my old thought patterns and begin to heal wounds I didn’t know I had.

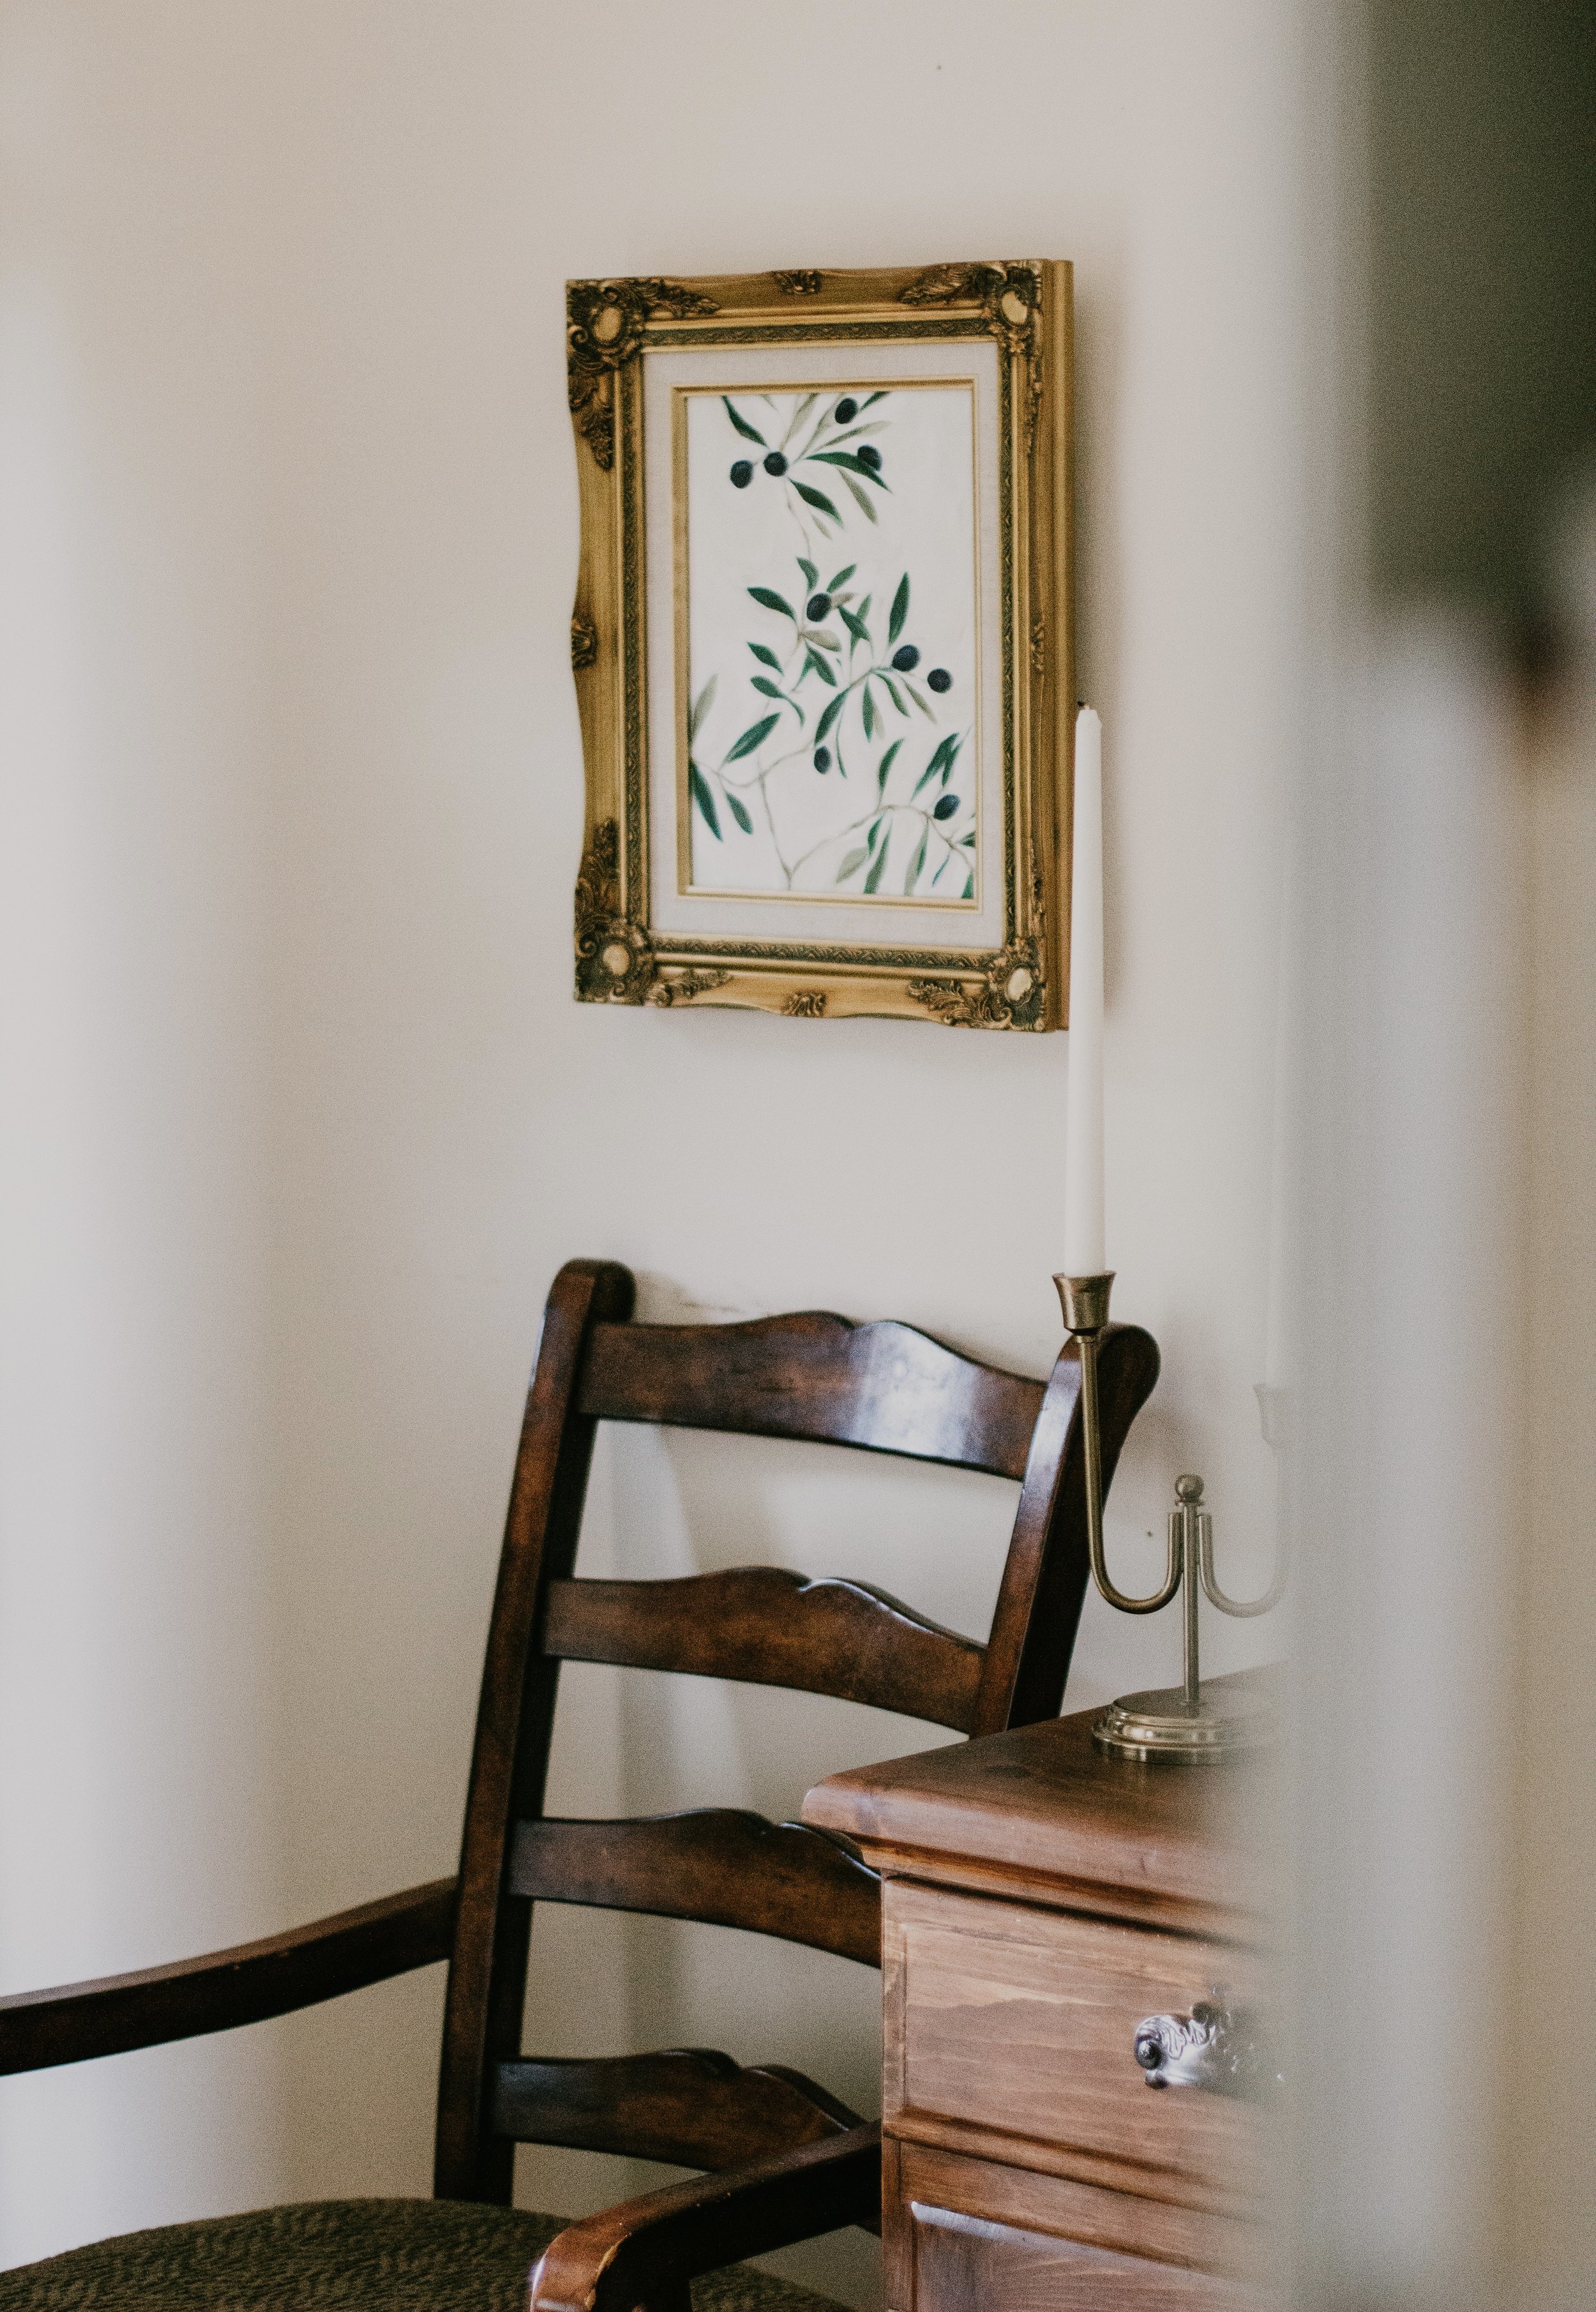
For the last couple of weeks I painted with my short easel whenever I had spare time—a rare and valuable thing, nowadays—to make something that will brighten the front entryway of my home. Having not painted on a canvas for so many years, I forgot how freeing and therapeutic it can be. By letting my busy and overactive mind take a backseat in my creative process, I allowed my paintbrush and intuition to be my guides, and I fully immersed myself in the flow of painting once again. There was no pressure to finish my art at a certain time, no one to submit sketches to, no professor providing un-constructive criticisms, no anxiety about posting to social media, and no nagging inner-critic to appease. It was just me and the stillness I sometimes feel whenever I create something new.
And that stillness, that sage and wise teacher, had so much wisdom to share with me.
The stillness gently reminded me of the importance of play. Although this insight isn’t new to me, it is a lesson that I have not yet mastered as an artist. You would think that I would make it a central feature to my art practice but with the demands of running my own business, the responsibilities of adulting, and the pressure to meet deadlines, I just never devoted time to it.
Yet as Albert Einstein once eloquently stated, ‘play is the highest form of research.’
It’s during play—the time spent creating art freely, uninhibitedly, and joyfully—that I feel the most fulfilled. My imagination runs wild and my need for perfection is (nearly) obsolete. I just flow with whatever my mind and heart want to create in the present moment. And by doing so, I’m reminded that having fun and making time for play are not only needed for sustaining a healthy relationship with my art, but it’s also a great way of tending to and caring for my personal well-being.
After years of being a working artist, I no longer think of making art for myself as a frivolous endeavor that I should avoid. On the contrary, I now think of it as a sacred time to connect with myself. And although I may not always post the art I make for fun, when I do I hope they bring you as much joy to see as they were for me to create.